16 Easy and Fun Google Photos Tips and Tricks
Google Photos is a good cloud storage option for your photos, even though its days of unlimited storage are over. The 15GB of free online storage you get with a Google account is now shared across several apps like Gmail and Google Drive.
Unlike apps like DropBox, Google Photos is also useful for quick photo editing. You can use filters and other editing tools and then share your creations on social media. Take advantage of all the tips and tricks below to get the most out of Google Photos.
1. Create Movies, Photo Collages, and Animations
You might have noticed that occasionally Google automatically creates collages and animations from your photos, but you can create them yourself whenever you want. Explore the section of Google Photos called Utilities. That’s where you can create a new movie, animation, or collage.
Movies can have soundtracks, and you can control how long each photo appears. When you choose images for a Collage, Google will automatically arrange them into a single image for you. To create an animated gif, choose Animation.
2. Search Logically
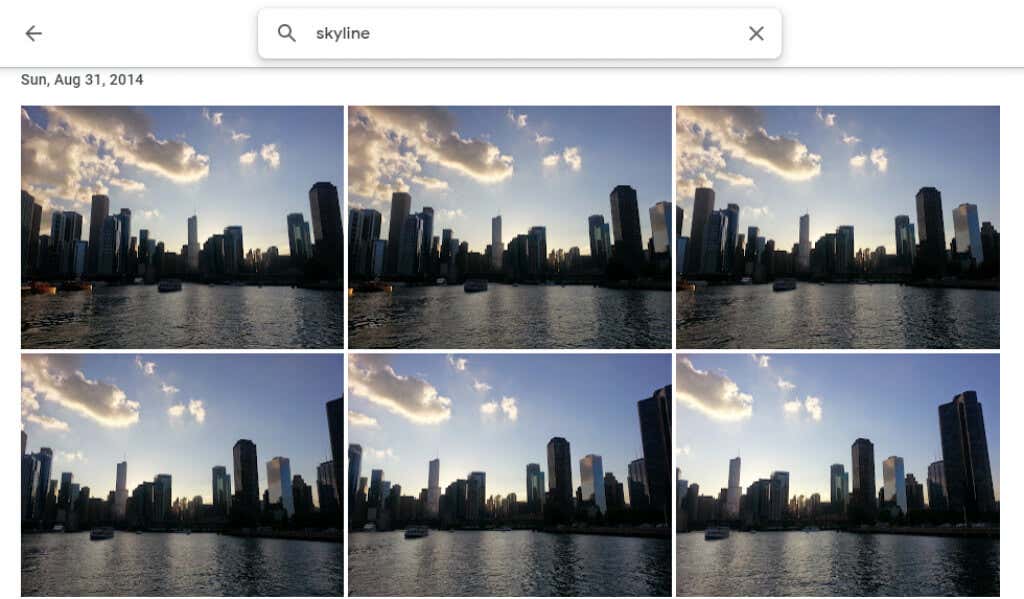
Search by people, places, objects, and specific dates by typing in the search bar at the top of the desktop site or the bottom of the mobile app.
3. Label People & Pets
In the Explore section of Google Photos, under People & Pets, you’ll see a row of headshots of people and pets in your photos. Select one that doesn’t have a label, and enter their name. Then you’ll be able to search for pictures of them by name.
Select your name and view all selfies and photos of yourself from over the years. Create a slideshow and see how you’ve changed!
4. Search by Emoji
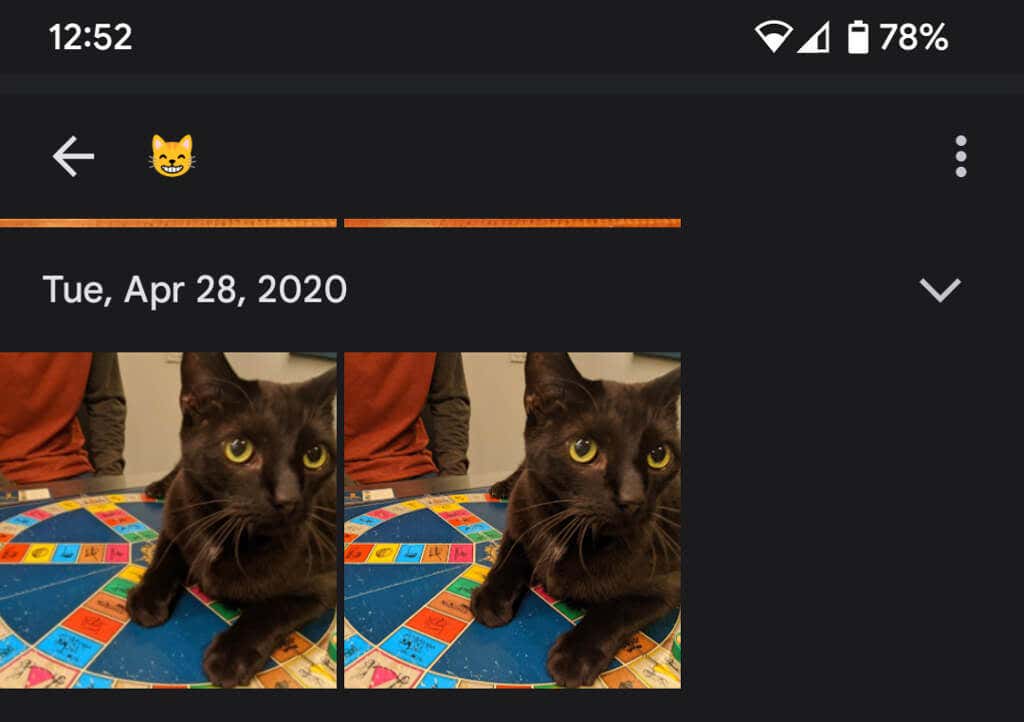
You can even search by emoji when using the Google Photos app on a mobile device.
5. Add Background Blur
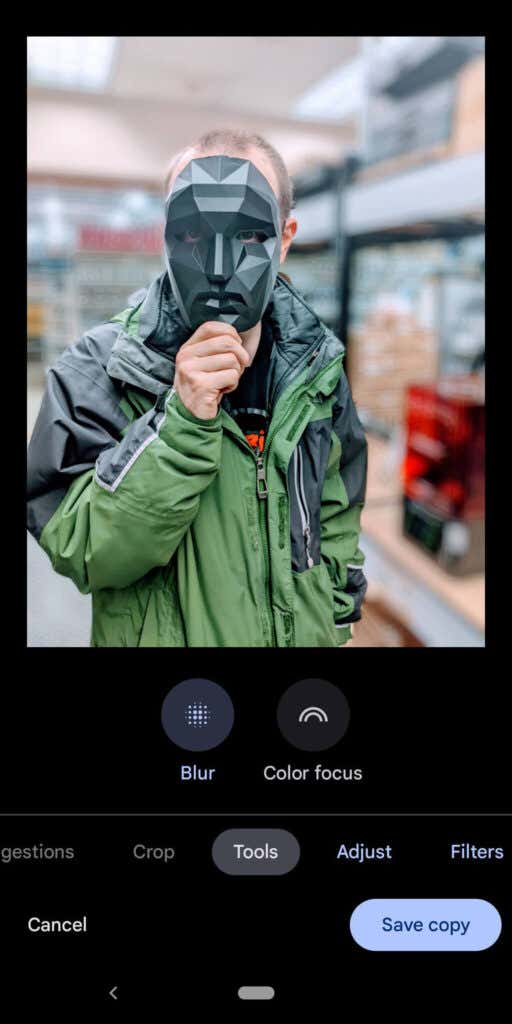
Google One members and Pixel owners can use the Portrait Blur feature that intelligently blurs the background of pics of people. Google just announced that these users would soon be able to blur the backgrounds of other photos as well.
6. Hide Location Information
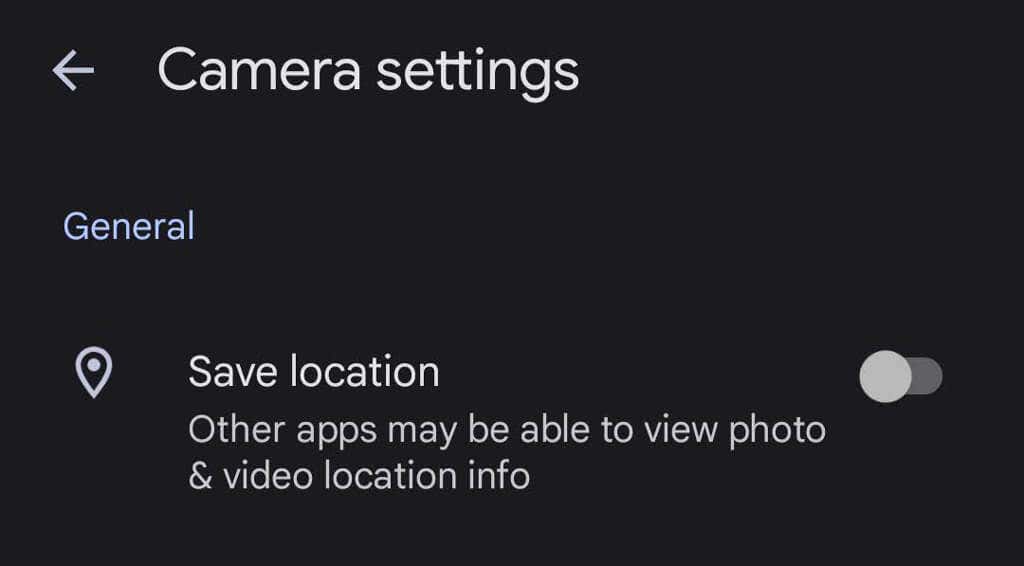
When you take a photo with your device, location information is likely saved along with the image. To prevent location information from being shared with your photos, go to Photos Settings > Location > Location sources > Camera settings and toggle Save location to the Off position.
7. Download All Your Photos
Google provides a relatively easy way to download all your photos at once by using Google Takeout. Google Takeout is also a great way to export or download all Gmail emails.
8. See the Original While You’re Editing
When editing a photo in the app, tap and hold down the pic to see the original. In a browser, click and hold the edited image to see the original.
9. Add Old Photos with PhotoScan
Using Google’s PhotoScan app (for Android and iPhone) to scan old photos is better than just taking a picture of a photo. It scans the old picture (or document) from several angles to reduce glare. Preserve those old photos for posterity!
10. Not Just for Android Phones
iPhone users can enjoy Google Photos, too. Download the Google Photos iOS app.
11. Cast Your Screen to Your TV
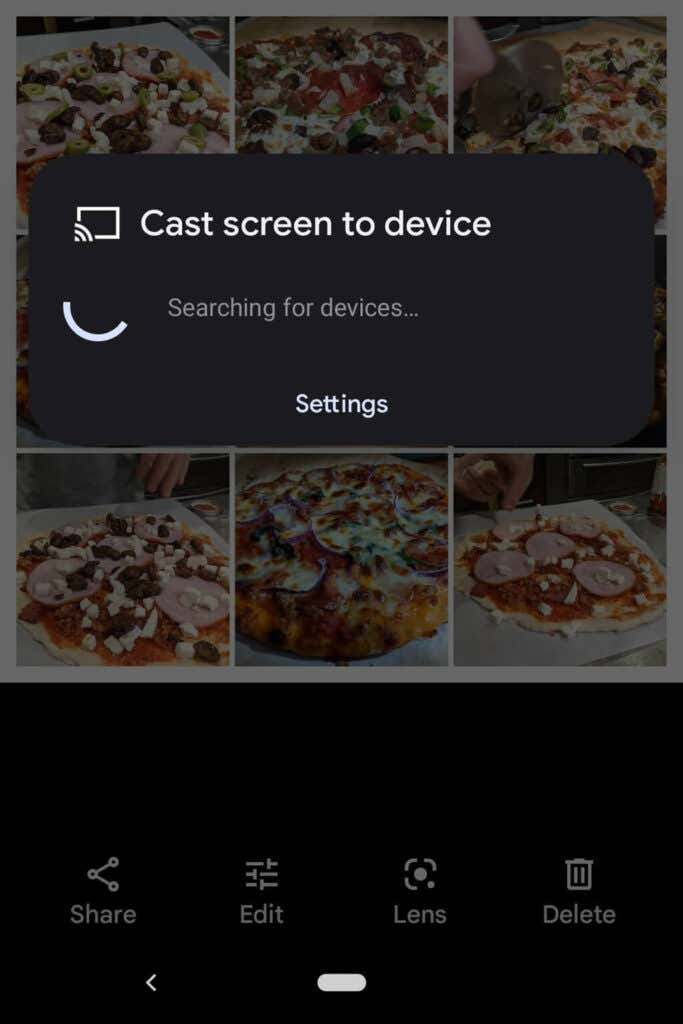
If you are using Google Photos on an Android device, you can share photos with everyone in the room by casting your screen to another device, like a television.
12. Save Space
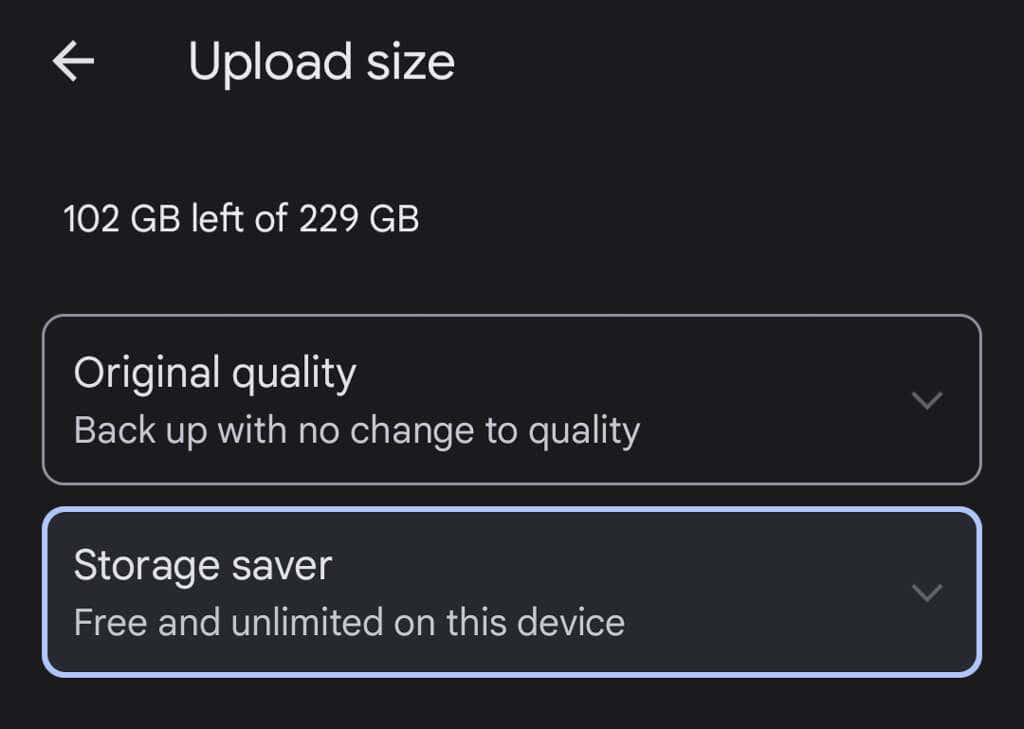
Deleting photos isn’t the only way to save space in your Google Photos account. Compress your high-quality photos, so you free up space and don’t run up against the dreaded photo storage limit. In the Google Photos app, select your profile picture in the top right corner.
Then select Photos settings > Backup & sync > Upload size. That’s where you can opt to back up your photos at their original quality or slightly reduce the quality of the uploaded photos.
13. Share Images and Albums
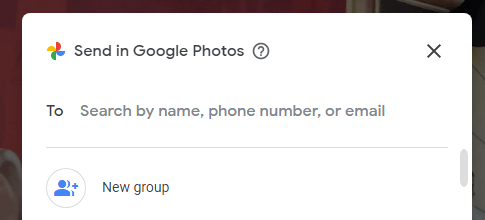
There are many sharing options inside Google photos. Share individual images or whole albums with specific people, or create a link that anyone can use. If you add more pictures to a shared album, people you’ve shared the album with (or who have the link) will be able to see the new photos you add to the album.
When you share a photo from within the Google Photos app, you’ll see options to share via Google Photos or other messaging and social media apps.
14. Create Photo Books
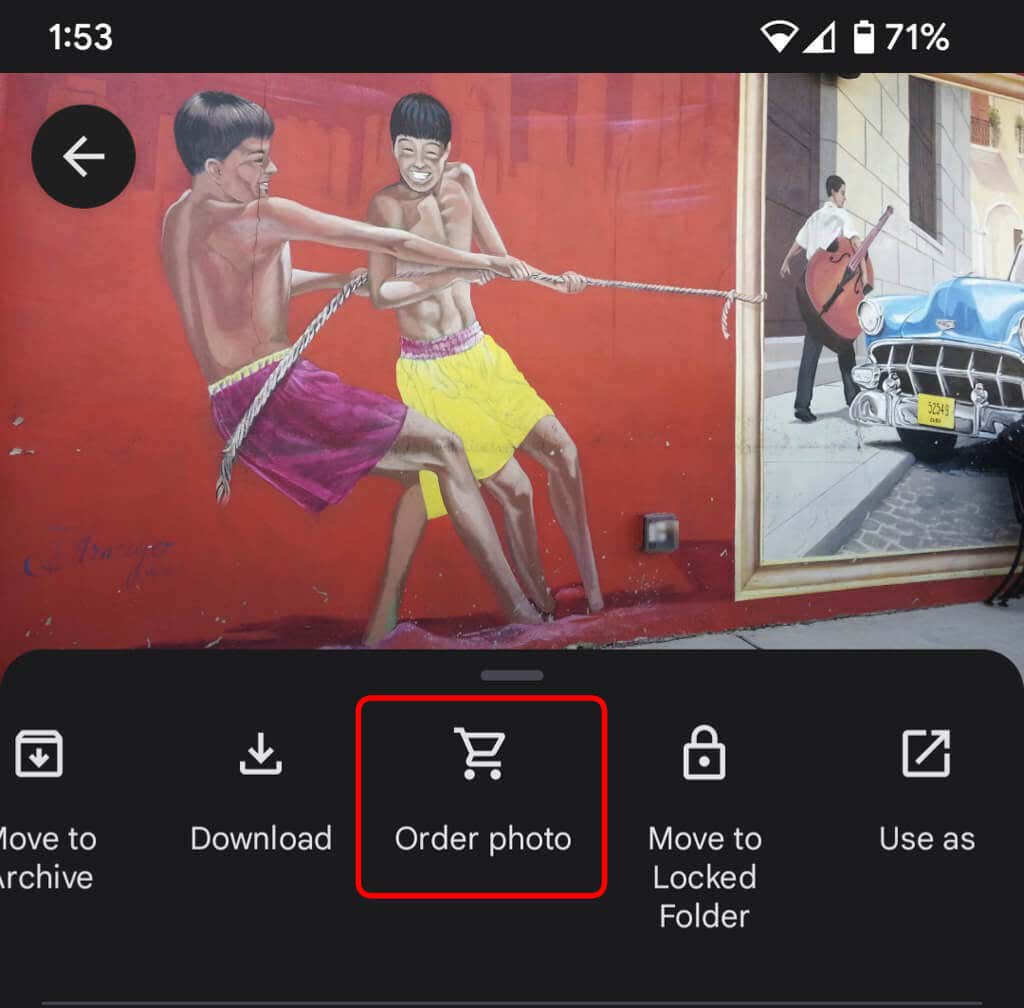
While digital photos are great, it’s also nice to have something physical you can hold. On the desktop site, select the Print store to assemble your best photos into a photo book. In the app, select the More icon (three dots) and choose Order photo. You can create a photo book, order a photo print, or create a canvas print of the photo. These make excellent gifts, especially for parents and grandparents.
15. Use Locked Folders for Better Security
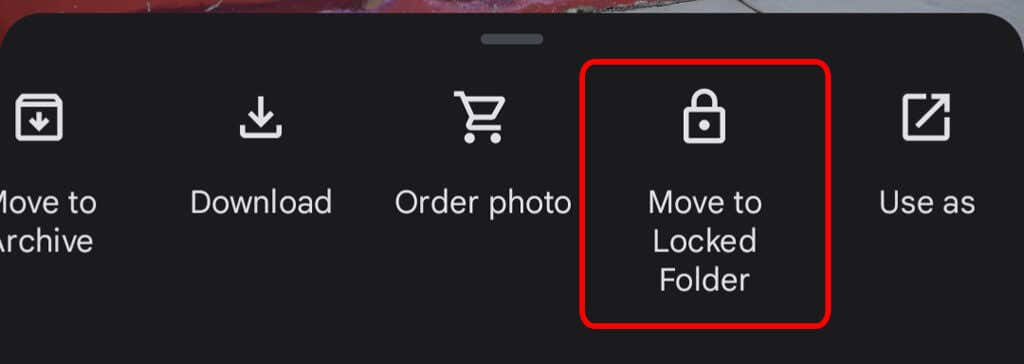
To move a photo on your device to a locked folder, select the More icon and Move to Locked Folder. Moving an image to a locked folder means that it’ll be hidden from other areas of Google Photos and other apps on your device. The photo won’t be backed up or shared, and it will be deleted if you uninstall Google Photos.
16. Enable Back Up & Sync
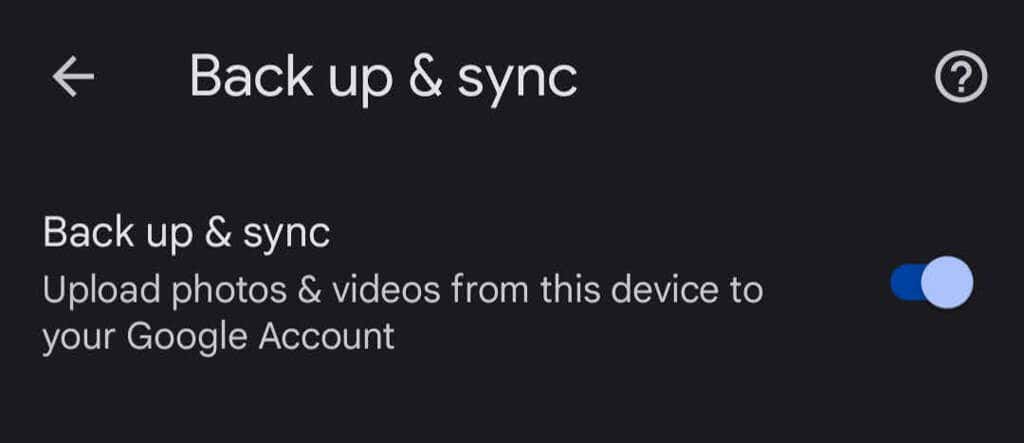
As soon as you install the Google Photos mobile app on your phone, you’ll be prompted to enable the Back Up & Sync. This feature automatically saves new photos and videos when you have internet access, which is great if you don’t have much device storage space. Then you’ll always be able to find your images and videos in your Google Photos library. You can set it to only backup and sync when you’re connected to wi-fi.
If you’re an iPhone user and already back your photos up to the iCloud, Google’s Back Up & Sync feature is a great second line of defense. In the app, tap your profile photo and then select Photos settings > Back up & sync.
from Online Tech Tips https://ift.tt/PUD0ApN
via IFTTT




Comments
Post a Comment