What to Do When Your iPad Won’t Connect to WiFi? 11 Easy Fixes
Is your iPad not connecting to Wi-Fi? Many reasons—such as a buggy Wi-Fi module, incorrect network settings, and router-side issues—often cause that. The good news is that you can fix the problem quite easily most of the time.
So work through the list of pointers that follow, and you should be able to make your iPad connect to Wi-Fi as usual again.
Related: Check out what you must do if your iPad connects to Wi-Fi but not the internet.
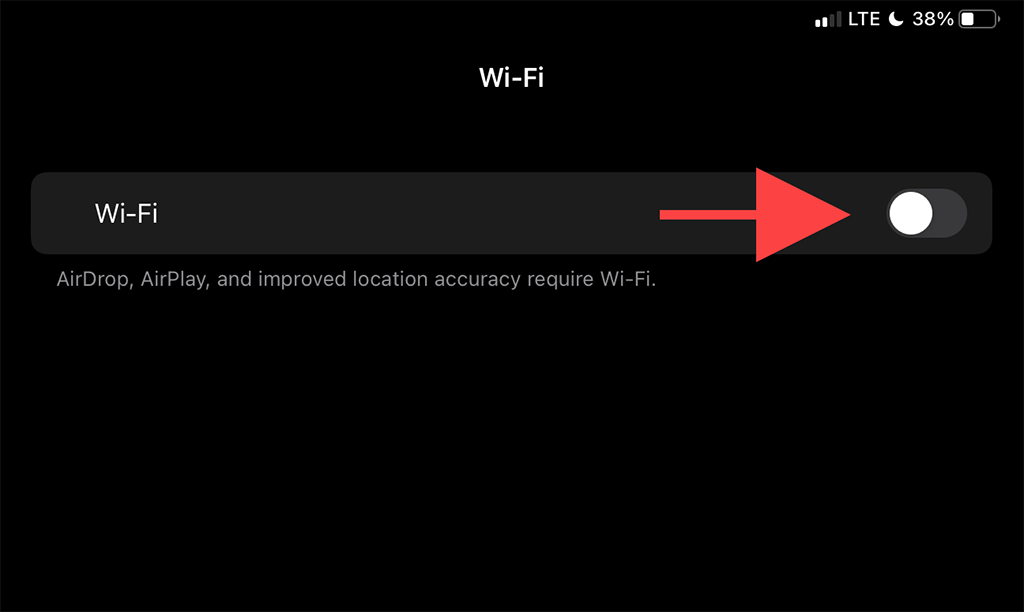
1. Disable and Enable Wi-Fi
Turning off and reactivating the Wi-Fi module on your iPad is the quickest way to eliminate temporary glitches that stop it from functioning correctly.
1. Open the Settings app on your iPad.
2. Tap the option labeled Wi-Fi.
3. Turn off the switch next to Wi-Fi.
4. Wait for at least 10 seconds.
5. Turn on the Wi-Fi switch and pick the hotspot you want to connect to under the My Networks or Networks section.
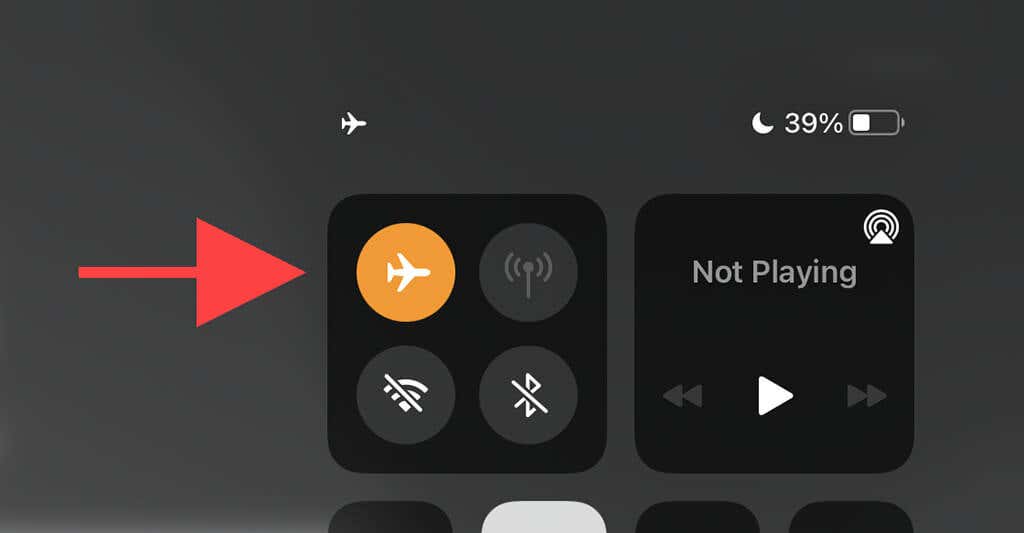
2. Turn Airplane Mode On/Off
Toggling Airplane Mode on and then off helps reboot all network-related radios and is another quick way to resolve an iPad not connecting to the Wi-Fi error.
1. Bring up the iPad’s Control Center by swiping down from the top-right of the screen.
2. Tap the Airplane Mode icon to deactivate Wi-Fi, Cellular, and Bluetooth.
3. Wait for up to 10 seconds and tap the Airplane Mode icon again.
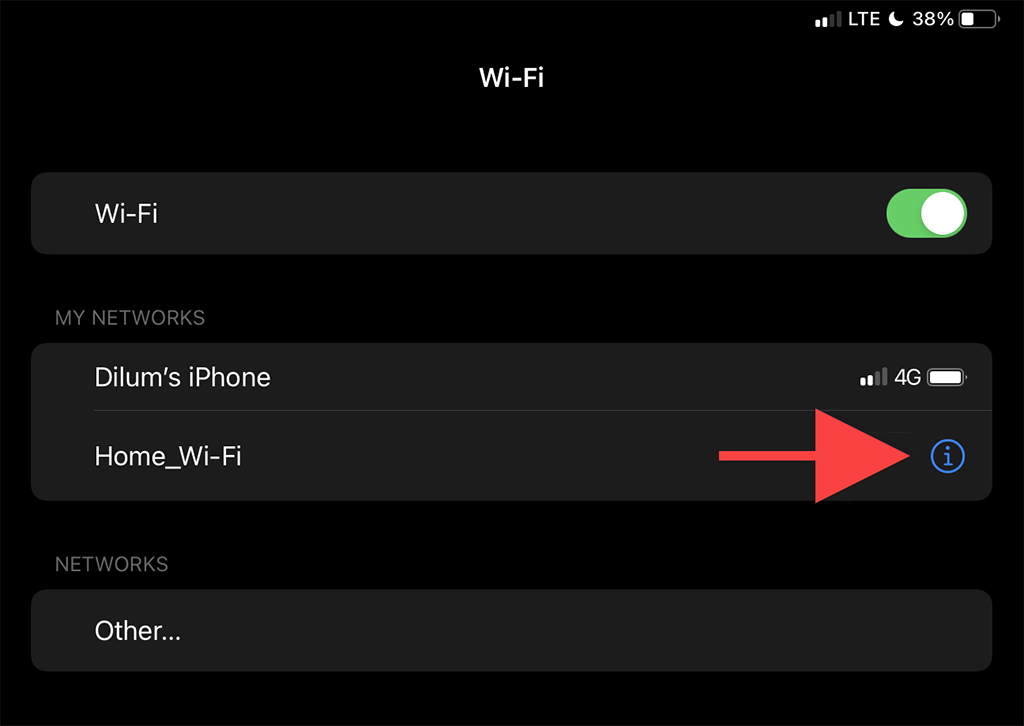
3. Forget and Reconnect to Network
If your iPad stops connecting to a previously saved Wi-Fi hotspot, deleting and reconnecting to the network might help.
1. Open the iPad’s Settings app and tap Wi-Fi.
2. Locate the network under the My Networks section and tap the Info icon next to it.
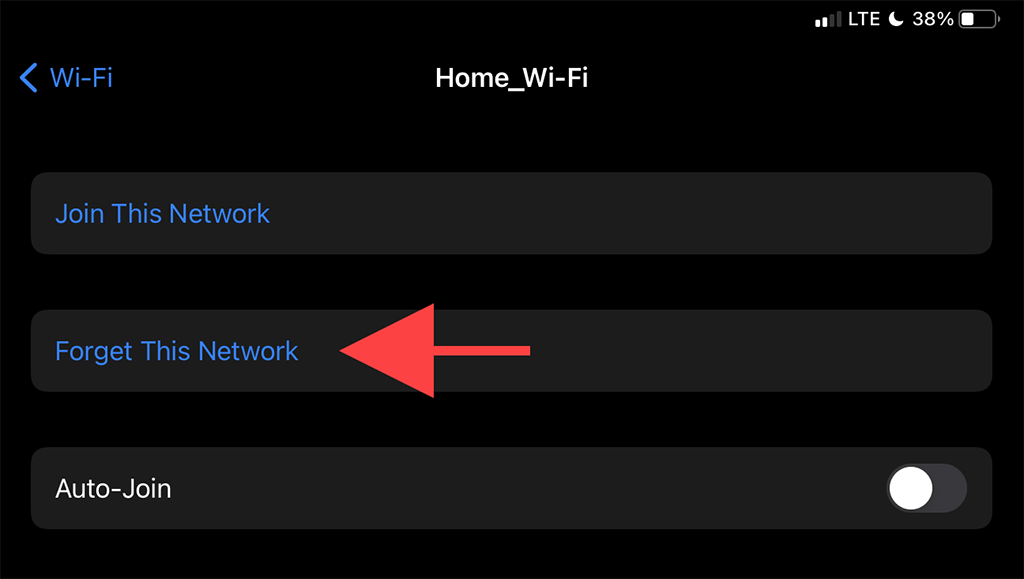
3. Tap Forget This Network.
4. Select the Wi-Fi network under the Networks section.
5. Enter the network’s password and tap Join.
4. Restart iPad
Restarting an iPad from a powered-off state also resolves issues with Wi-Fi connectivity. If you haven’t already, try doing that now.
1. Open the iPad’s Settings app and go to General > Shut Down.
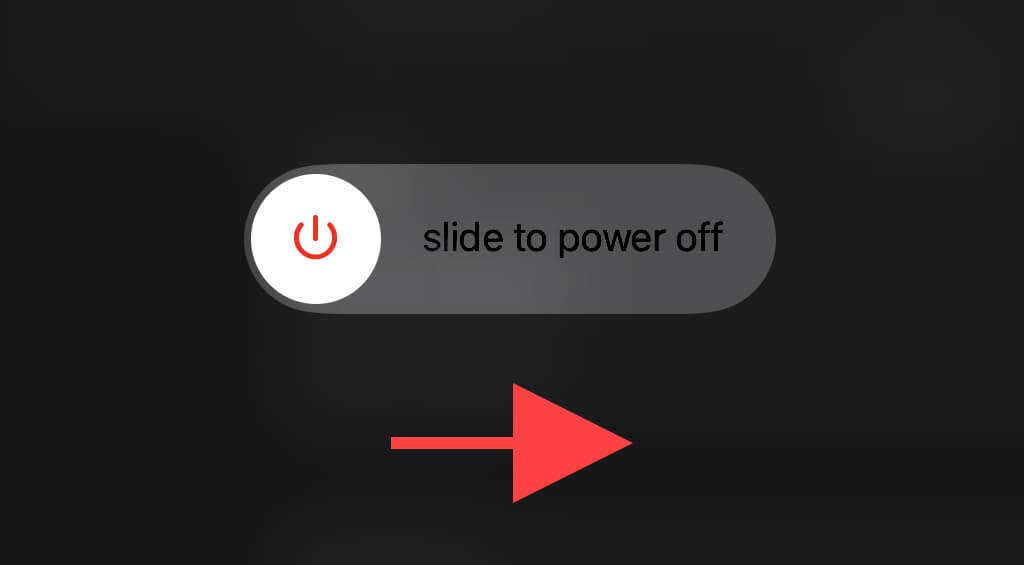
2. Swipe the Power icon and wait until the iPad shuts down completely.
3. Hold down the Top button to reboot the device.
5. Get Close to the Router
This one’s obvious, but moving closer to the router is another fix that can push your iPad into re-establishing Wi-Fi connectivity. If possible, try placing the iPadOS device right next to the router and check if that makes a difference.
If that did the trick, you might want to set up a spare router as a Wi-Fi extender to mitigate the issue going forward.
6. Restart Your Router
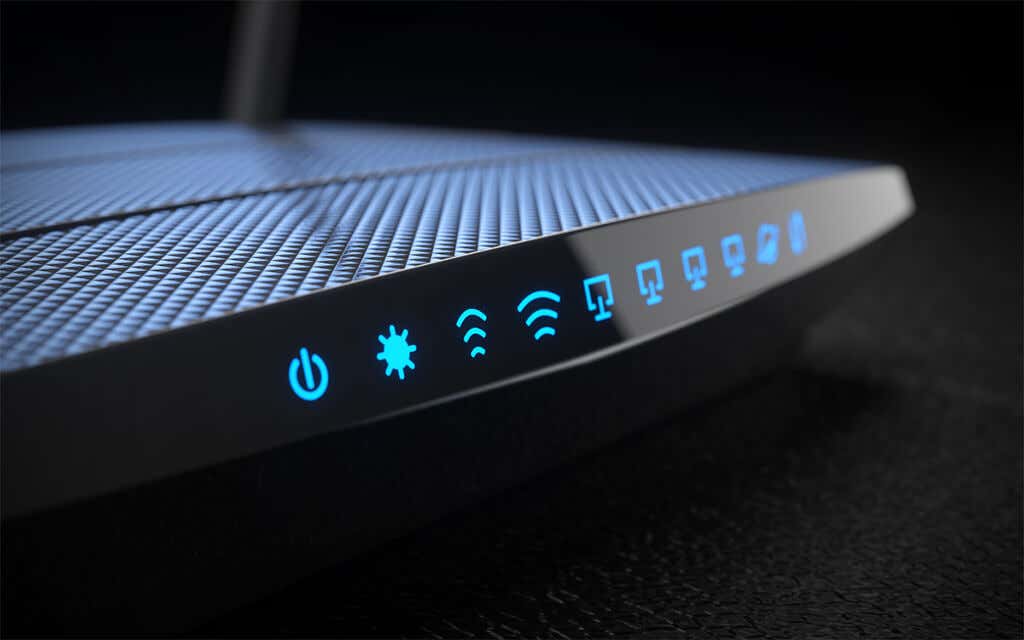
If the issue is restricted to a specific Wi-Fi network only, restarting the router (provided that you can access it) can also help fix when your iPad won’t connect to Wi-Fi.
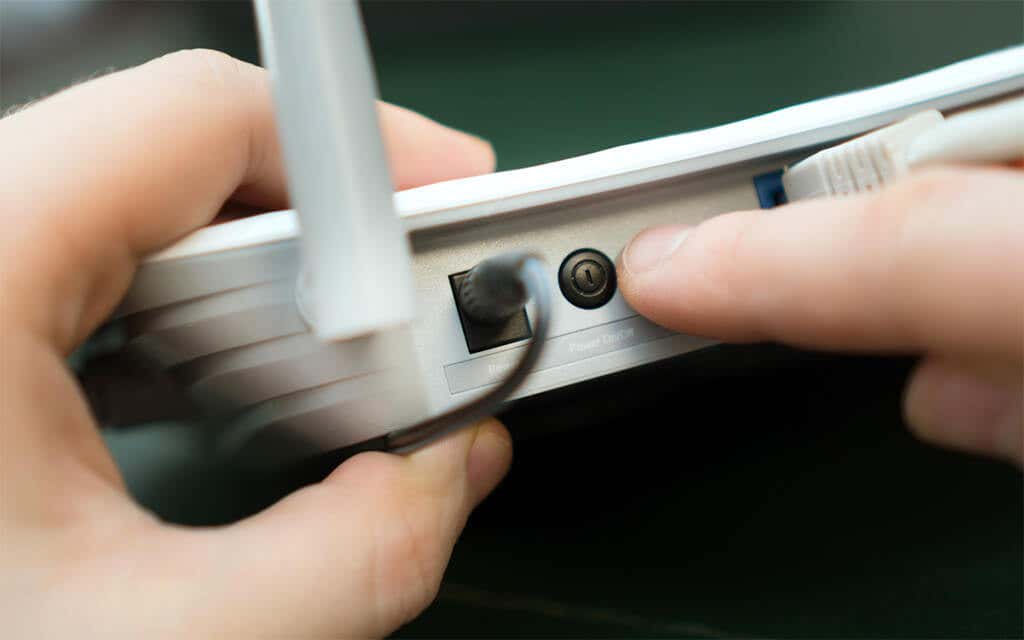
To do that, simply turn off the router’s power switch and wait for 30 seconds. Then, turn it back on again.
7. Update iPadOS
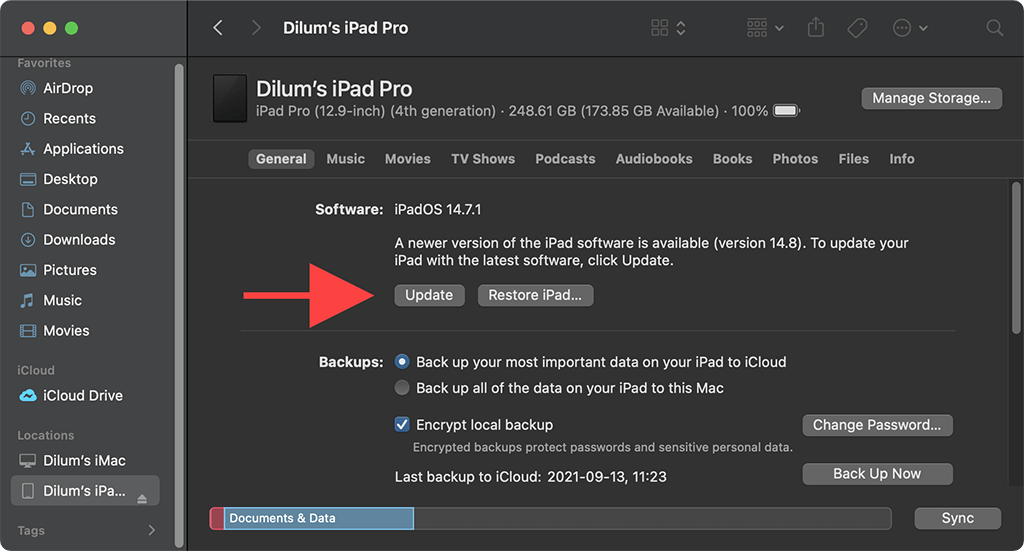
Wi-Fi-related issues can also occur due to a buggy version of the iPad’s system software—iPadOS. The only way to fix that is to update it. You can do that by heading over to Settings > General > System Software.
If you don’t have any other Wi-Fi hotspots that you can connect to (or if you can’t connect to any network at all), you must use a Mac or PC with an active internet connection.
1. Open the Finder app on your Mac. If you use a PC, you must open iTunes.
Note: You can install iTunes on your PC via the Microsoft Store or Apple website.
2. Connect your iPad to your computer via USB. If this is the first time, unlock your iPadOS device and tap Trust.
3. Select your iPad in Finder or iTunes.
4. Select the Check for Updates button.
5. Select Update to apply any pending updates.
8. Change Security Mode on Router
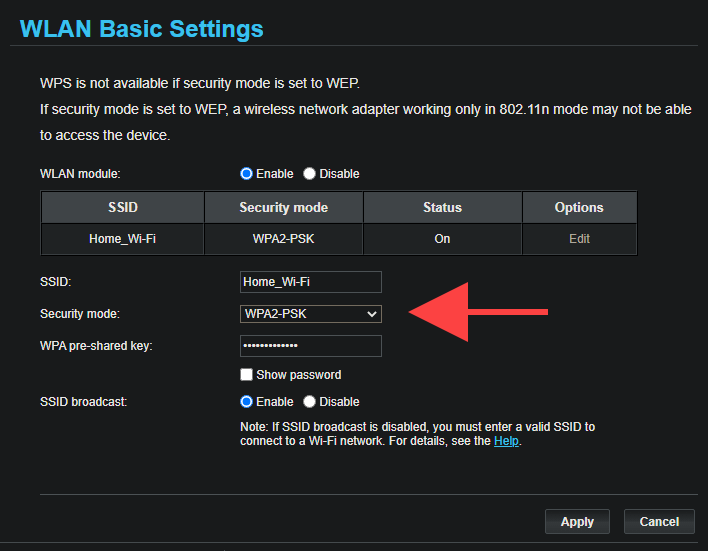
The security mode on your router might also impact the iPad’s ability to connect to a network.
If you have access to a desktop browser, try switching to a different encryption level (such as from WPA2 to WPA or vice-versa) via your router’s control panel and check if that helps.
9. Reset Network Settings
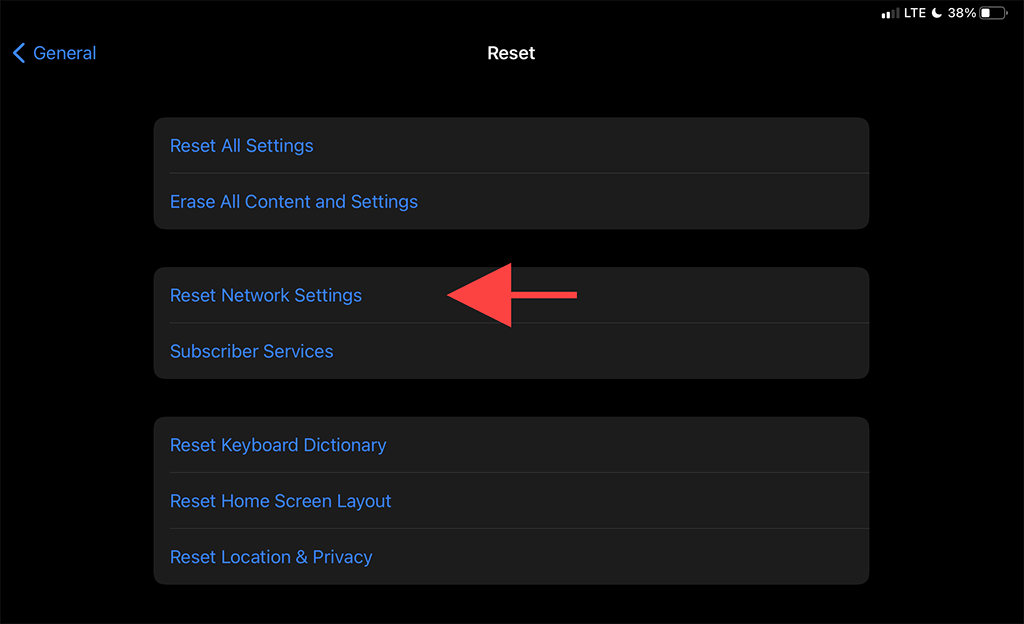
We recommend resetting the iPad’s network settings if you still keep experiencing connectivity issues with one or more Wi-Fi hotspots. That usually resolves severe underlying problems with network connectivity, but the reset procedure also erases all saved Wi-Fi hotspots.
1. Open the Settings app and go to General > Reset.
2. Tap Reset Network Settings.
3. Enter the device passcode and tap Reset to confirm.
Once your iPad finishes reverting the network settings to their defaults, try reconnecting to Wi-Fi by heading over to Settings > Wi-Fi.
10. Reset Router
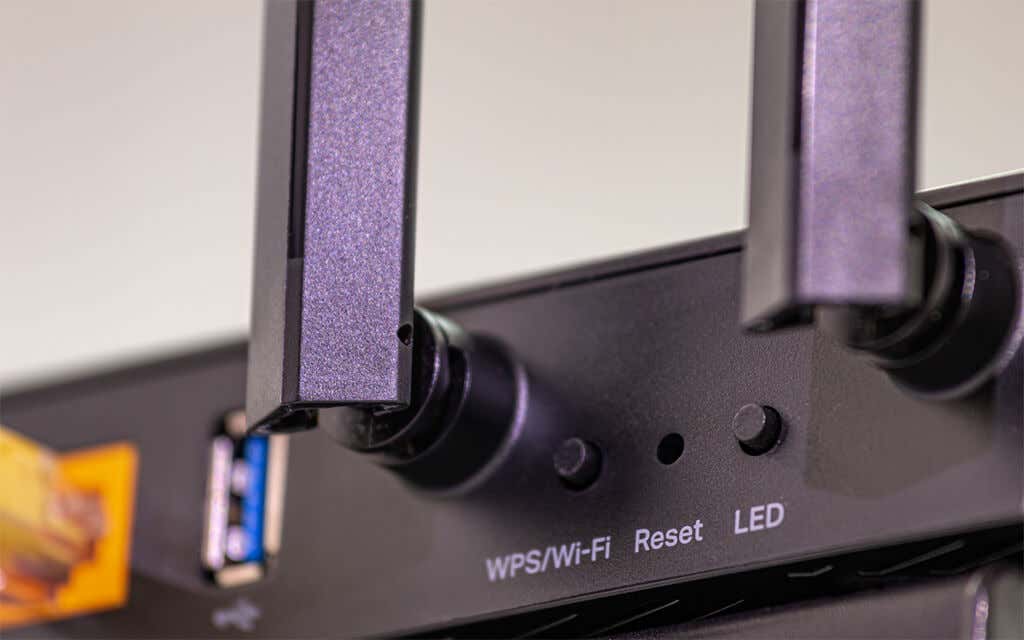
If resetting the iPad’s network settings didn’t help, you must reset your router to its defaults instead. There are two ways to do that.
The first method involves pressing the physical Reset switch on your router. The second method consists in restoring the default settings via the router’s control panel. Check our router reset guide for the specifics.
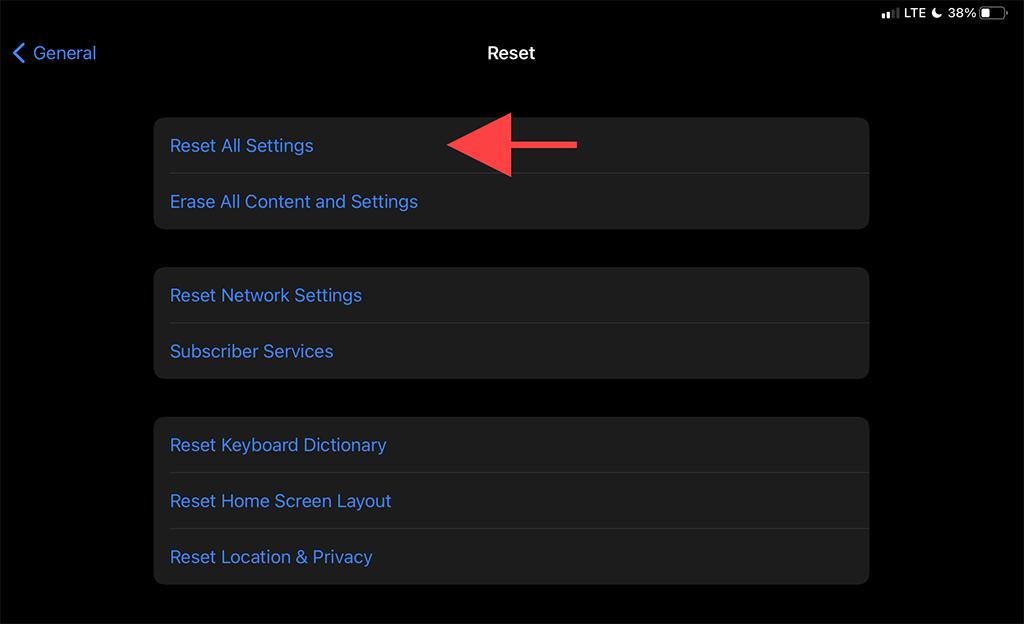
11. Resetting All Settings
The final fix involves resetting all settings on your iPad. Not only does that restore any complex network configurations to their defaults, but the procedure also reverts harmful changes from the myriad other settings in iPadOS.
1. Open the iPhone’s Settings app and tap General > Reset.
2. Tap Reset All Settings.
3. Enter both the device passcode and Screen Time passcode. Then, tap Reset to confirm.
Your iPad will reboot automatically after completing the settings reset. Once it finishes doing that, go to Settings > Wi-Fi and check if you can connect the device to a Wi-Fi network again.
Take It to Apple
If none of the fixes above helped and you still can’t connect your iPad to any Wi-Fi network, you’re probably looking at a defective Wi-Fi module on your iPad. You can try factory resetting your iPad or reinstalling the firmware in DFU Mode, but that can end up making your device unusable if it keeps on failing to connect to Wi-Fi.
Your best option next is to take it to the nearest Apple Store or Apple Authorized Service Provider for repairs or a replacement.
from Online Tech Tips https://ift.tt/31bssso
via IFTTT
Comments
Post a Comment